Window-Light Still Life: Build a Simple Photograph at Home
One window and a stationary subject are enough for a useful light experiment. Change the direction of light before adding equipment.
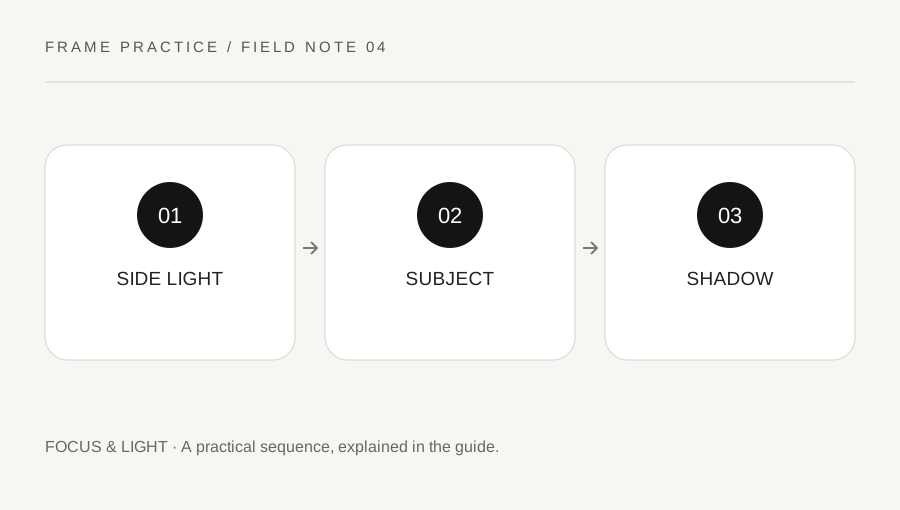
Original explanatory diagram. Numerical examples in this guide illustrate the reasoning; they are not a claim of hands-on testing.
Choose a controllable scene
Use a simple object, a plain surface and a safe position near a window. Remove private information, distracting labels and fragile items from the scene. Keep electrical equipment and drinks apart. Avoid placing heavy objects where they could fall from a narrow sill.
Observe whether direct sun reaches the subject or whether the window supplies softer light. Clouds, curtains and time of day can change the result. Make a test frame before arranging an elaborate composition so you know whether the available light suits your idea.
Compare front and side light
Photograph the object with the window near your camera direction, then move around so the light comes from the side. Keep the object position and framing as consistent as practical. Side light often makes surface texture and shape easier to notice through the shadow pattern.
If shadows are too deep for your intention, try a plain white card on the opposite side as a reflector. Keep it clear of hot lamps and other hazards. Compare with and without the card rather than assuming every shadow must be filled. A shadow can help describe form.
Review exposure and color
Check the brightest important area and the darkest detail you want to retain. Use the camera histogram or highlight warning if available, understanding that it is a guide based on the camera rendering. Adjust exposure and inspect the image rather than relying solely on screen brightness.
Mixed window and room lighting can create inconsistent color. For a simple exercise, compare the scene with unnecessary room lights switched off and then on, if safe to do so. Keep a record of the light arrangement with each image. This produces a repeatable setup for photographing objects without claiming one universal “natural light” look.
Build a repeatable three-position light study
Place one object on a stable surface and mark its position with a removable reference if appropriate. Make a front-lit frame, a side-lit frame and a frame from a slightly different camera height. Keep the background simple and record where the window is relative to the camera.
Review the shadow direction and the brightest reflection. A shiny object can reveal the shape of the window, while a matte object may show its form through a gentler tonal transition. Choose a viewpoint that describes the object rather than automatically eliminating every reflection. If a white card changes the shadow, photograph both versions so you can compare what it contributes.
Write one sentence beneath each frame: “front light reduces visible texture,” “side light emphasizes the curved edge,” or another observation that matches your actual photograph. These statements are examples of note style, not promised outcomes. Repeat at a different time if you want to study the changing window light. Keep the scene simple enough that the result teaches you about direction and contrast, rather than becoming a test of many props and editing decisions at once.
A practical checklist
Tick items for your own use. This checklist is saved only in this browser.
Questions that come up
Do I need direct sunlight?
No. Both direct and indirect window light can be useful. Choose the character of light that suits the photograph and compare the result.
Should I remove every shadow?
No. Shadows can describe shape and depth. Decide whether they support the image instead of treating them as automatic defects.
Why can the same window look different later?
Sun position, clouds and surrounding conditions change. Record time and light character when comparing the setup.
References & scope
Background references checked on 18 October 2026. The examples and practice exercises are original editorial explanations, not copied procedures or professional advice.