Manual Focus with a Magnified View: Check the Detail Before Capture
A magnified monitor view can help you place focus on a static detail. Use the camera’s supported controls and verify the captured image instead of assuming a highlighted edge proves everything is sharp.
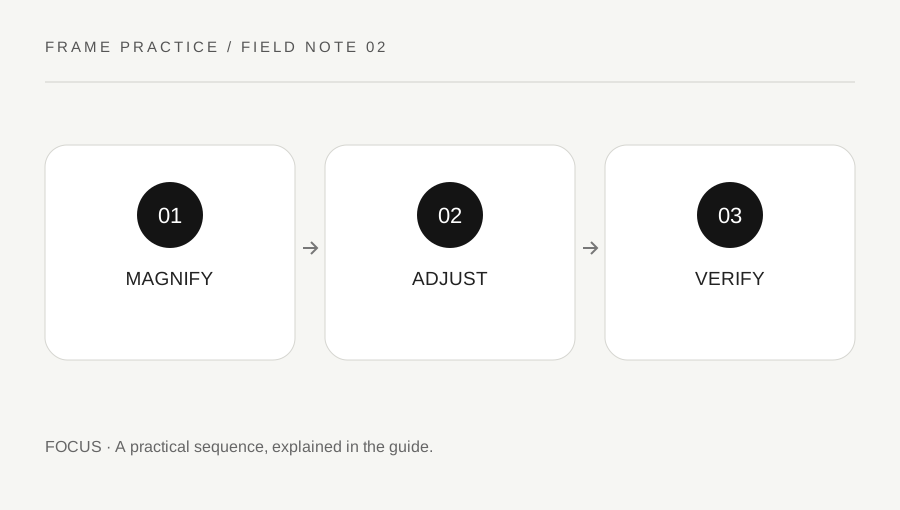
Original explanatory diagram. Examples illustrate a method or decision; they are not claims of personal testing.
Set up a static subject and supported view
Choose a stable ordinary subject with fine visible detail and enough light to inspect comfortably. Read the camera and lens instructions for manual focus and magnified live view or equivalent controls. Some lenses use electronic focusing behavior, and available assistance varies by model. Do not force a focus ring against a stop or assume another camera's button sequence applies.
Use a safe stable camera arrangement. If a tripod is used, follow its load, attachment and positioning instructions and keep the route around it clear. A manual-focus exercise should not depend on balancing the camera on an unstable edge. Keep the subject within the lens's supported focusing range before adjusting anything.
Move the magnified area to the intended detail
Use the supported magnification control to inspect the part that matters, not merely the center of the frame. Adjust focus gently until the detail is rendered as intended. If the camera offers peaking, read what it indicates and its limitations. A colored outline is an aid, not a full assessment of the final photograph's sharpness or depth of field.
Return to an appropriate full view to check composition before capture without changing the subject distance accidentally. Do not let a successful close-up focus check hide a clipped edge or an unwanted background object. The focus view and the final frame answer different questions, and both deserve a brief look.
Work through a printed-label exercise
Imagine a still-life subject with a small label at an angle. The photographer magnifies the relevant text area, focuses manually through the supported controls and makes one image. They then review the captured detail and compare nearby areas to see what is and is not within acceptable focus.
If the text was sharp in the monitor but soft in the capture, they inspect camera movement, subject movement and any position change. The example does not establish one universal cause or prescribe a particular aperture. It is a controlled practice sequence that makes the intended target and the actual result easy to compare.
Keep depth and motion as separate decisions
Manual focus does not make every distance sharp. If the subject has substantial depth, choose the desired focus placement and other exposure choices through the broader photographic plan. A magnified detail can be excellent while another important part falls outside the intended sharp region. Review the whole purpose of the image.
Use a supported release method and timing that avoids unnecessary movement, following the equipment's instructions. Do not add several camera features at once and then claim manual focus alone produced the difference. Retain the original frames and a brief note of the target and setup. A useful exercise teaches a reliable placement process rather than promising that manual control is always superior to autofocus.
Restore the intended focus mode afterward
A lens left in manual focus can make the next autofocus attempt appear broken. Check the camera and lens state before returning to ordinary shooting, especially if more than one person uses the equipment. Keep a short reminder of the manual mode location if helpful. This does not require a full reset; it requires an understood state. The same habit applies when moving from a static close-up to a subject that needs a different supported focusing method.
A practical checklist
Choices are saved in this browser. Reset them here or clear this site’s browser storage.
Questions that come up
Does focus peaking certify the whole image is sharp?
No. It is an aid with model-specific behavior. Review the captured detail and the overall image.
Is manual focus always better?
No. Choose a supported method suited to the task and compare the actual result.
Why did autofocus stop after the exercise?
Check whether the lens or camera remains in manual mode before assuming a fault.
References & scope
Background references checked on 18 October 2026. Worked examples and diagrams are original teaching material.