Phone Photos of a Static Subject: Set the Focus and Review the Exposure
A phone can make many decisions automatically, but a simple focus-and-exposure check still helps. Use the controls supported by your device and compare the saved image rather than only the live preview.
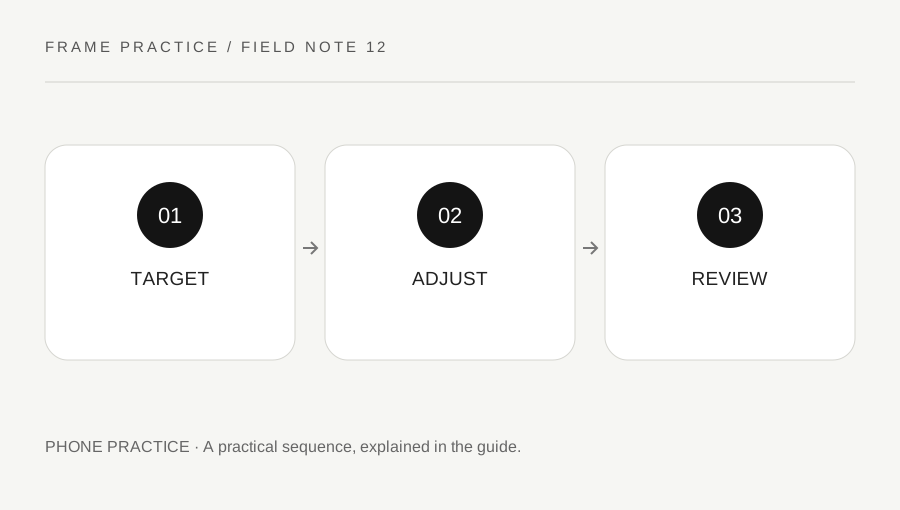
Original explanatory diagram. Examples illustrate a method or decision; they are not claims of personal testing.
Start with a stable ordinary subject
Choose a static object in manageable light and clean the lens through the device manufacturer's appropriate guidance. Hold the phone safely or use a supported stable arrangement. Keep the subject at a distance the camera can handle. Moving extremely close can introduce focus and perspective problems rather than simply showing more useful detail.
Read the current camera help for your phone and application. Apple documents focus and exposure controls, including locking behavior on supported iPhone workflows, but other devices and apps differ. Do not assume a gesture copied from one model has the same effect everywhere. Identify the actual indication that a setting is active.
Choose the intended detail and tone
Use the supported control to place focus on the relevant part of the object. If an exposure adjustment is available, change it modestly for the subject's intended appearance and inspect important detail. A brighter preview is not automatically a better photograph, especially if a pale label or textured area becomes unreadable.
If using a lock, understand what is held and how to release it. Do not move the phone or subject substantially after locking and expect the same focus distance to remain appropriate. Keep the framing and light reasonably consistent for the first comparison. The aim is one understandable decision rather than several automatic features changed without a record.
Make a small comparison pair
Imagine a phone photographs a pale object near a window. The first image uses the ordinary automatic choice. For the second, the photographer selects the intended detail and uses the supported exposure control to preserve the appearance they want. They compare the saved images at a useful size, checking the object and background separately.
They do not infer a universal compensation amount or claim that every phone should disable its automatic processing. The exercise shows how the device's actual controls affect a particular static scene. If an application changes modes or combines frames, the user reads its relevant help rather than describing the result as a purely manual single-frame capture without evidence.
Review the output and active controls
Open the saved image and inspect focus, motion, edges and any important text. A live preview can hide details that become obvious in the final file. Keep a useful original rather than repeatedly editing a small shared copy. If sharing a screenshot or object record, check private information in the background and reflections.
Before the next scene, release any lock or restore the intended camera state through the supported controls. A setting that helped one object can be unsuitable for another distance or light. A useful phone routine is brief: intended target, supported adjustment and actual output review. It does not require pretending that every automatic feature is wrong or that a particular device guarantees perfect results.
Keep digital zoom and camera switching visible
A phone may crop, switch cameras or use other processing under its supported zoom controls. Read the device guidance and assess the actual output instead of assuming every displayed number describes an optical lens change. If detail becomes poor, try a safe position or framing alternative and compare. Do not step into an unsafe or restricted place to avoid digital zoom. The practical choice is the best suitable view you can make within the scene and device limits.
A practical checklist
Choices are saved in this browser. Reset them here or clear this site’s browser storage.
Questions that come up
Does every phone use the same lock gesture?
No. Follow the current device and application instructions and verify the active indication.
Can I move much closer after locking focus?
Do not assume the locked distance remains appropriate. Recheck focus for the new position.
Is the live preview enough for final review?
Inspect the saved image for important detail, motion and unintended background information.
References & scope
Background references checked on 18 October 2026. Worked examples and diagrams are original teaching material.